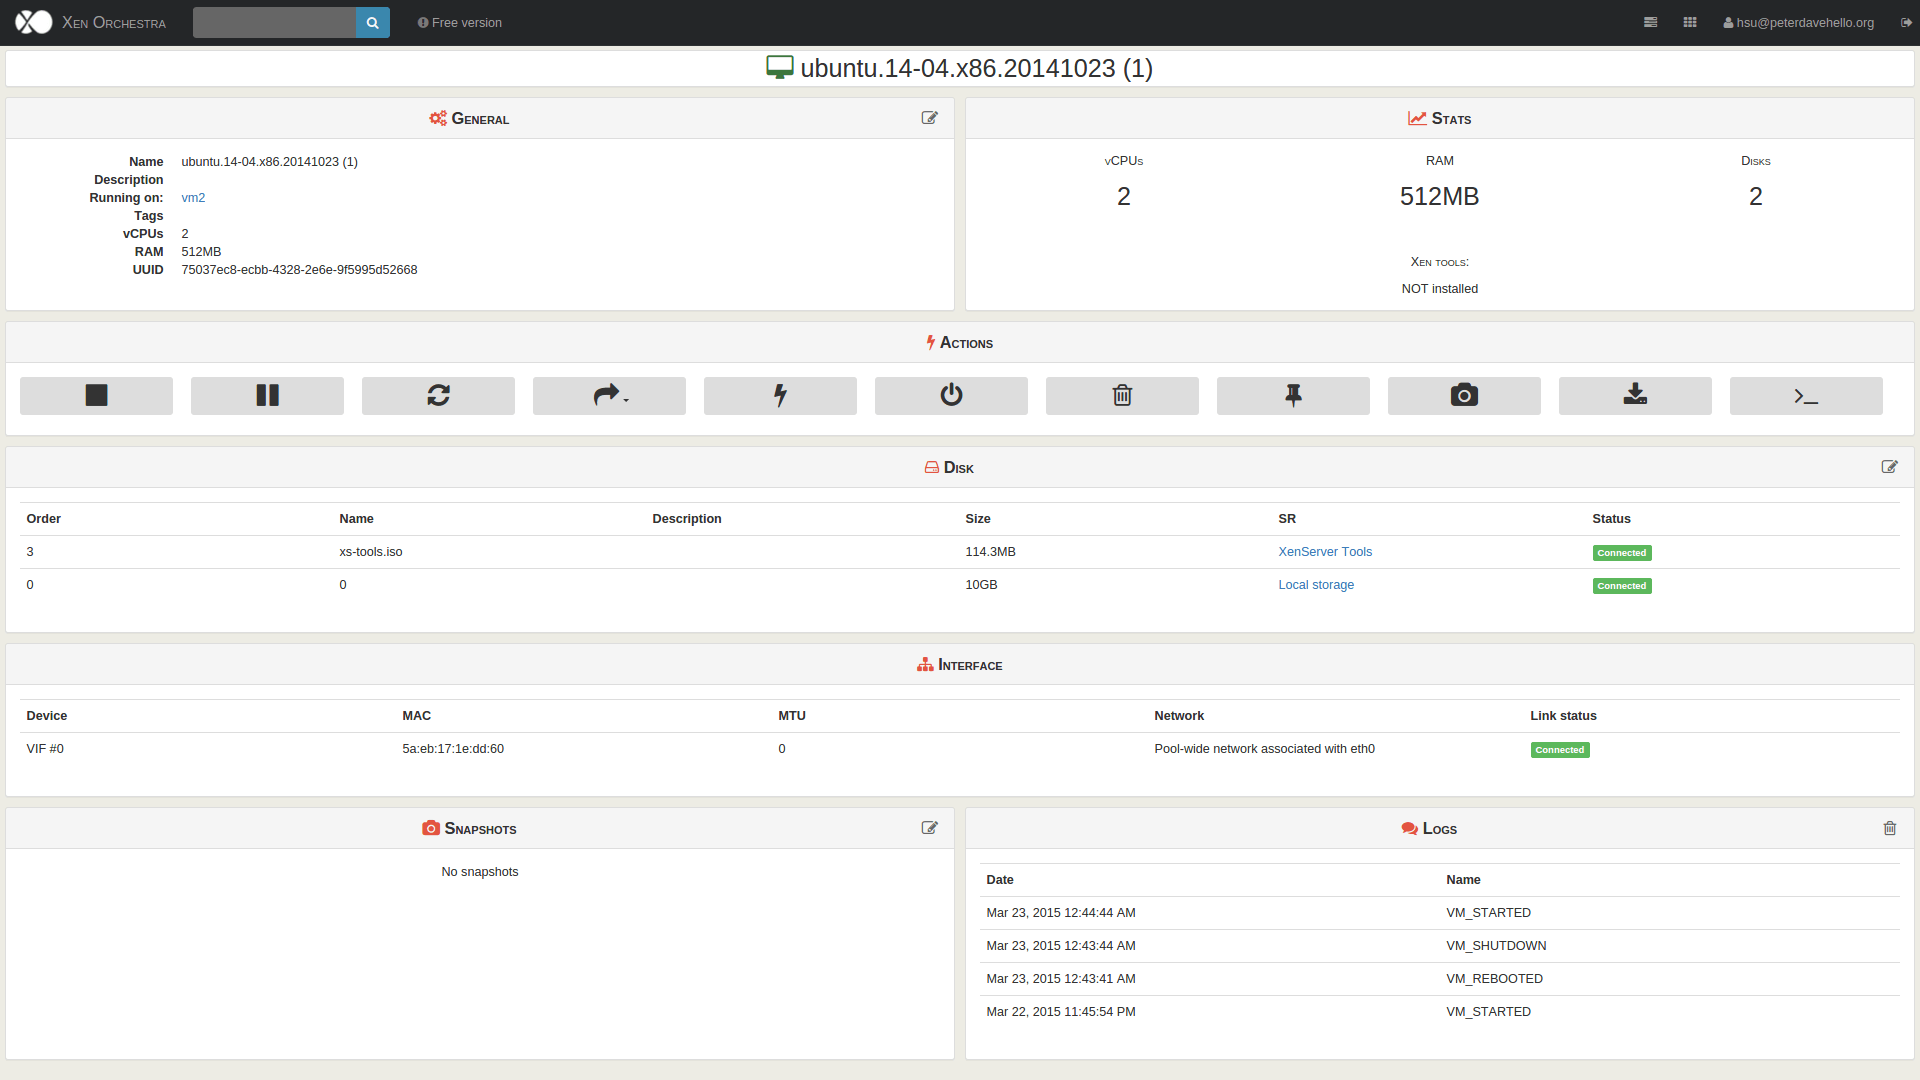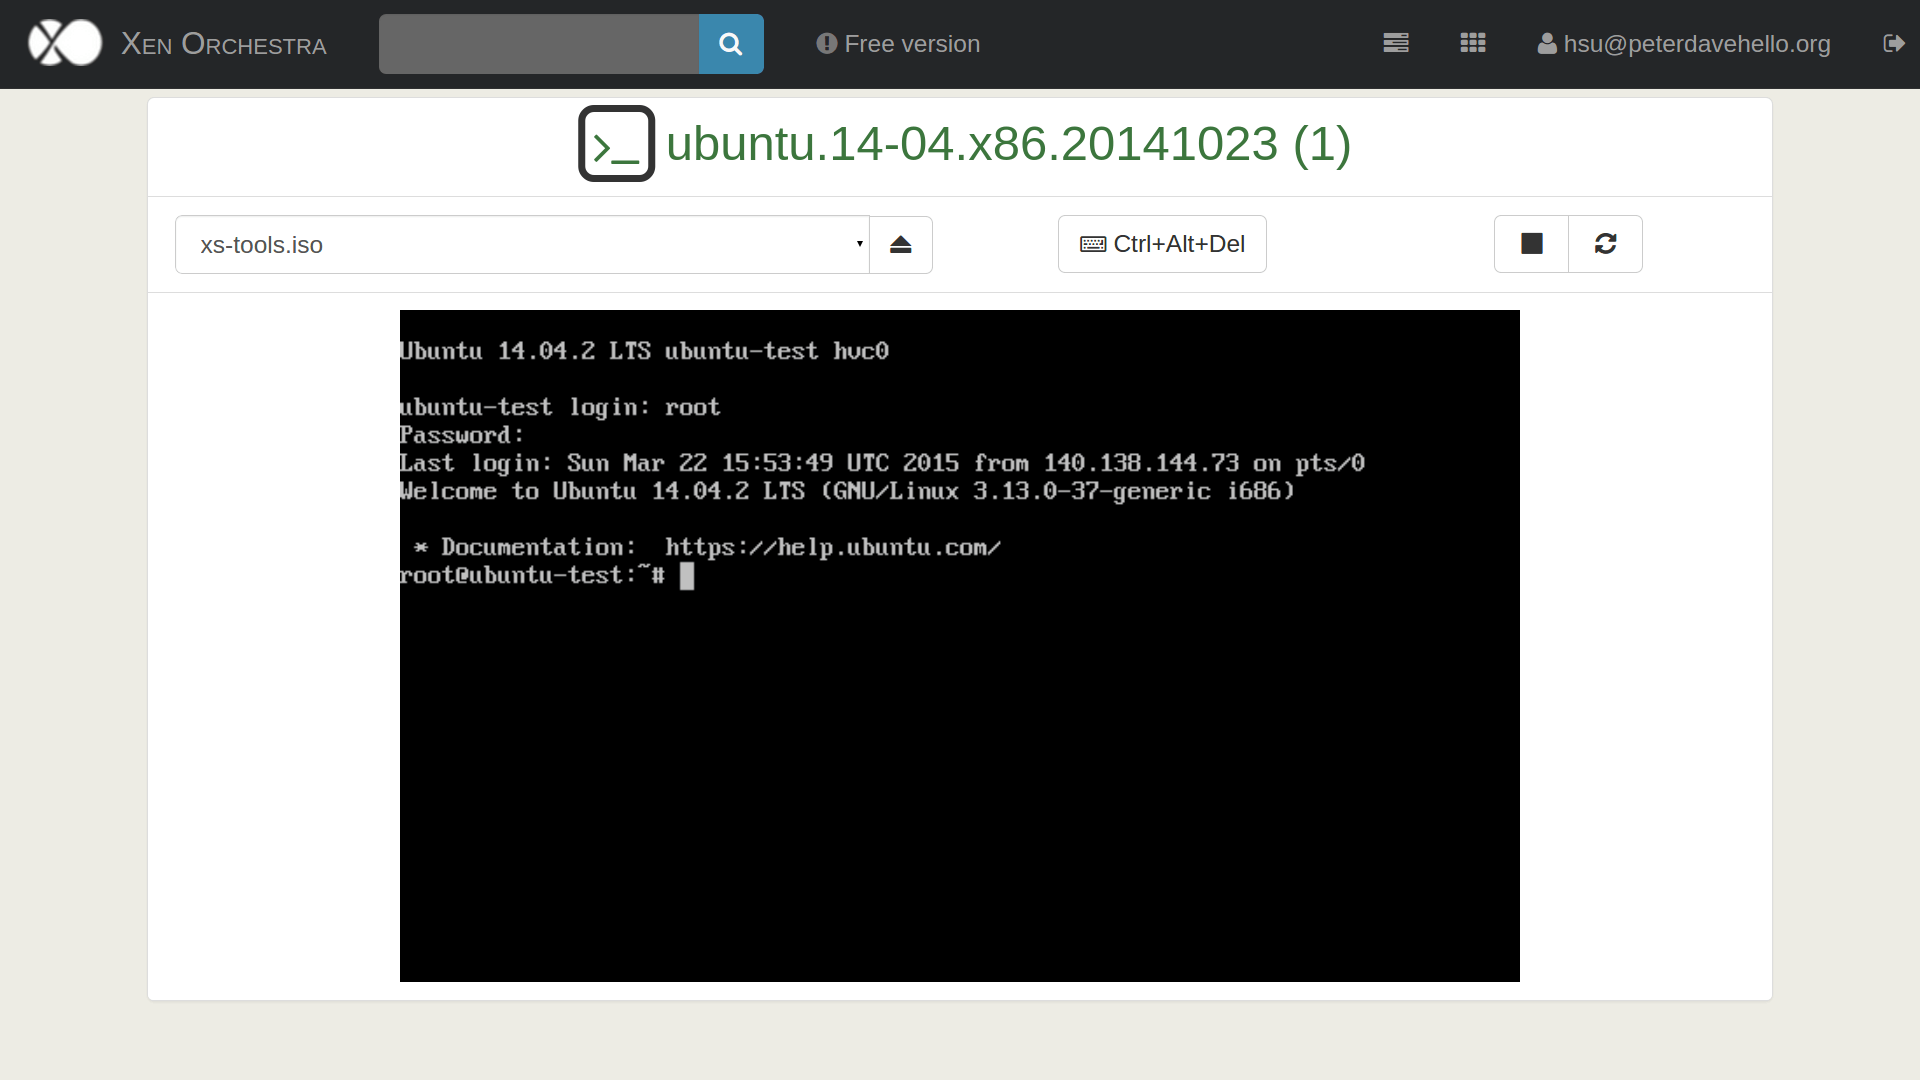
Guest vs Host:
- Host – usually runs on physical hardware, lower level.
- Guest – runs on the virtual/virtualized environment, upper level.
Virtualization types:
- Full virtualization – virtualize all the devices!
- Can run almost all the operating systems without any modifications.
- Emulate all the devicesn.
- Slower than Paravirtualization and Operating-system-level virtualization.
- Software Emulation (Without Hardware-Assisted-Virtualization)
- Very Slow.
- Need to do some jobs like binary translation or software instruction decode, will have a heavy overhead, is very inefficiet.
- Paravirtualization on HVM
- Full virtualization with paravirtualization drivers.
- Paravirtualization(PV) – use modified kernel to interact with the special interface
- Guest knows it’s a guest on the host, the guest will communicate with hypervisor.
- Use hypercall (call to hypervisor) as its system call.
- Hard(almost impossible) to modify the kernel of closed-source operating systems like Windows to use this method.
- Faster than full virtualization but slower than operating-system-level virtualization.
- Hardware-Assisted-Virtualization (HVM, HAV)
- Using help from hardware capabilities.
- Faster than Software Emulation.
- Technic examples
- AMD-V (Pacifica)
- Intel VT-x (Vanderpool)
- Operating-system-level virtualization – don’t really virtualize the devices
- Fastest – SUPER FAST!!!
- Isolate different user space instances.
- Don’t need hardware support.
- Must run on the same kernel
- Means bad compatibility.
- Examples:
- Partial virtualization – need be confirmed, not a usual type
- The section of partial virtualization on wikipedia said that “This section does not cite any references or sources”.
Type-1 vs type-2 hypervisor:
- Type-1
- Native/Bare-matel
- Runs directly on the real hareware, directly control the hardware resources.
- Examples:
- Type-2
- Runs on an existing operating system.
- Examples:
Wikipedia also use Application/Environment and OS level to distinguish different types of virtualization:
- Application-level
- Sandbox
- Environment-level
- Containers
- OS-level
- Hypervisors
Common integrated virtualization solutions:
Resources and references:
- Understanding full virtualization paravirtualization and hardware assist – vmware white paper
- Virtualization on Wikipedia
- The Paravirtualization Spectrum
- Explanations of Full virtualization, PV, HVM, PVH and PVHVM (so many terms here … a little bit too complex, ha)
- Part 1: The Ends of the Spectrum
- Part 2: From poles to a spectrum
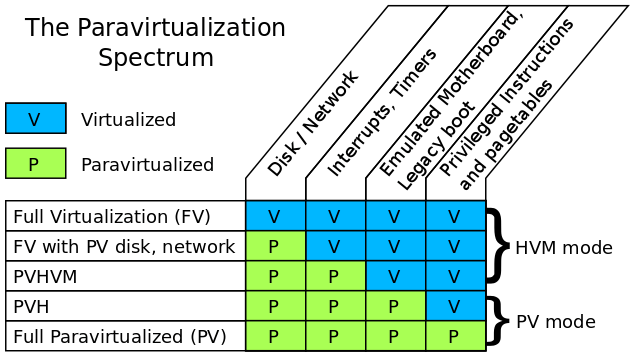
source : https://blog.xenproject.org/2012/10/31/the-paravirtualization-spectrum-part-2-from-poles-to-a-spectrum/
Still learning, hope that there are not too many wrong things here … comments to point out mistakes/weak points are welcome!