Fix a not clean, unmountable disk on FreeBSD

“fsck is our good friends” – By an accident poweroff, the mounted hard disk was not unmounted yet, and the power supply just been cut off … from the next boot, FreeBSD booted into single user mode because the system couldn’t mount my harddisk properly, let’s talk about how to fix it.

In single user mode, I just comment the line to mount the partition on my hard disk in /etc/fstab and then reboot, let my system boot normally first (the system was installed on another disk, if you have only one disk, it’s another situation), and try to mount the partition manually :

$ sudo mount /dev/ada1p1  /mnt/hdd

mount: /dev/ada1p1: R/W mount of /mnt/hdd denied. Filesystem is not clean – run fsck.: Operation not permitted

Still not work, so I use fsck_ufs to check the partition (it’s a UFS filesystem), and see if we can repair it:

$ sudo fsck_ufs /dev/adap1

** /dev/ada1p1
** Last mounted on /mnt/hdd
** Phase 1 – Check Blocks and Sizes
** Phase 2 – Check Pathnames
** Phase 3 – Check Connectivity
** Phase 4 – Check Reference Counts
** Phase 5 – Check Cyl groups
2005994 files, 8009350 used, 143322246 free (29606 frags, 17911580 blocks, 0.0% fragmentation)

***** FILE SYSTEM MARKED CLEAN ****

Looks great, it took me about only 3 minutes and didn’t report any bad news, for different situation, you may got different result, like additional message: ** Phase 1b – Rescan for more Dups, it depends.

Now we can try to mount it again:

$ sudo mount /dev/ada1p1  /mnt/hdd

No error message, awesome, let’s make sure it’s mounted:

$ df | grep ada1p1
/dev/ada1p1    ufs    577G    33G    498G    6%    /mnt/hdd

The end.

FreeBSD 10.2 on VirtualBox 虛擬機安裝紀錄

不知道為什麼這篇變成了我小小部落格的熱門文章: Linux Mint 17 “Qiana” Mate筆記及安裝紀錄(虛擬機),可能對不熟悉的東西有 step by step 的流程可以參考會比較放心?考慮到我也滿常在使用 FreeBSD 的,為了日後方便推坑 … 忙裡偷閒(其實是當作休息) 來一篇 FreeBSD 安裝筆記好了,可以給新手做參考。

練習環境會建立在 VirtualBox 上面,因為 VirtualBox 免費、跨平台、開放原始碼、容易取得,所以是首選。還不會用 VirtualBox 可以參考這兩篇:

https://www.peterdavehello.org/2016/01/install-virtualbox-5-0-on-windows-10-notes/

https://www.peterdavehello.org/2016/01/virtualbox-v5-0-cteate-vm-notes/

先說安裝檔從哪裡下載,台灣有 mirror (鏡像站),不需要跑到官網下載,從國外下載會慢很多,真的有特別需要可以去官網下載 sha256 或 md5 來校驗檔案正確、完整性就好了

等一下下載會用到的站台以下連結擇一使用即可:

http://ftp.yzu.edu.tw/BSD/FreeBSD/releases/ISO-IMAGES/
http://ftp6.tw.freebsd.org/FreeBSD/releases/ISO-IMAGES/
http://ftp11.tw.freebsd.org/FreeBSD/releases/ISO-IMAGES/

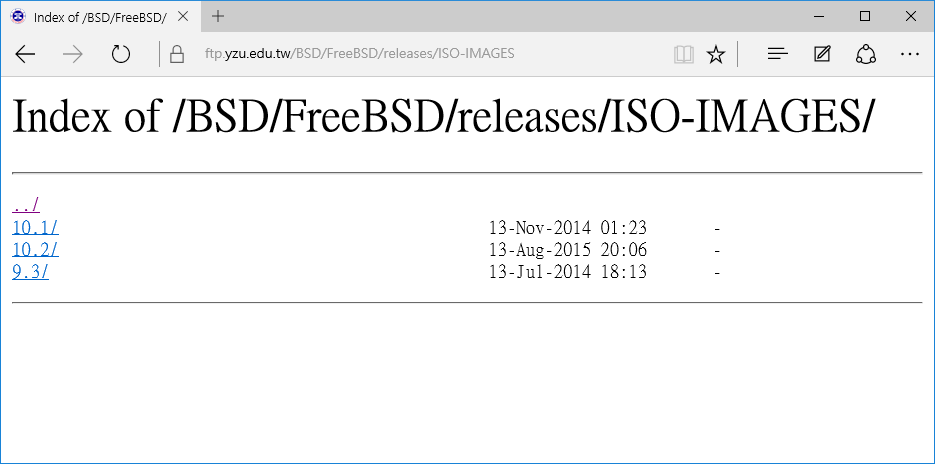
點進去畫面長這樣,選擇要下載的版本號,這邊選 10.2

FreeBSD_iso_image_download

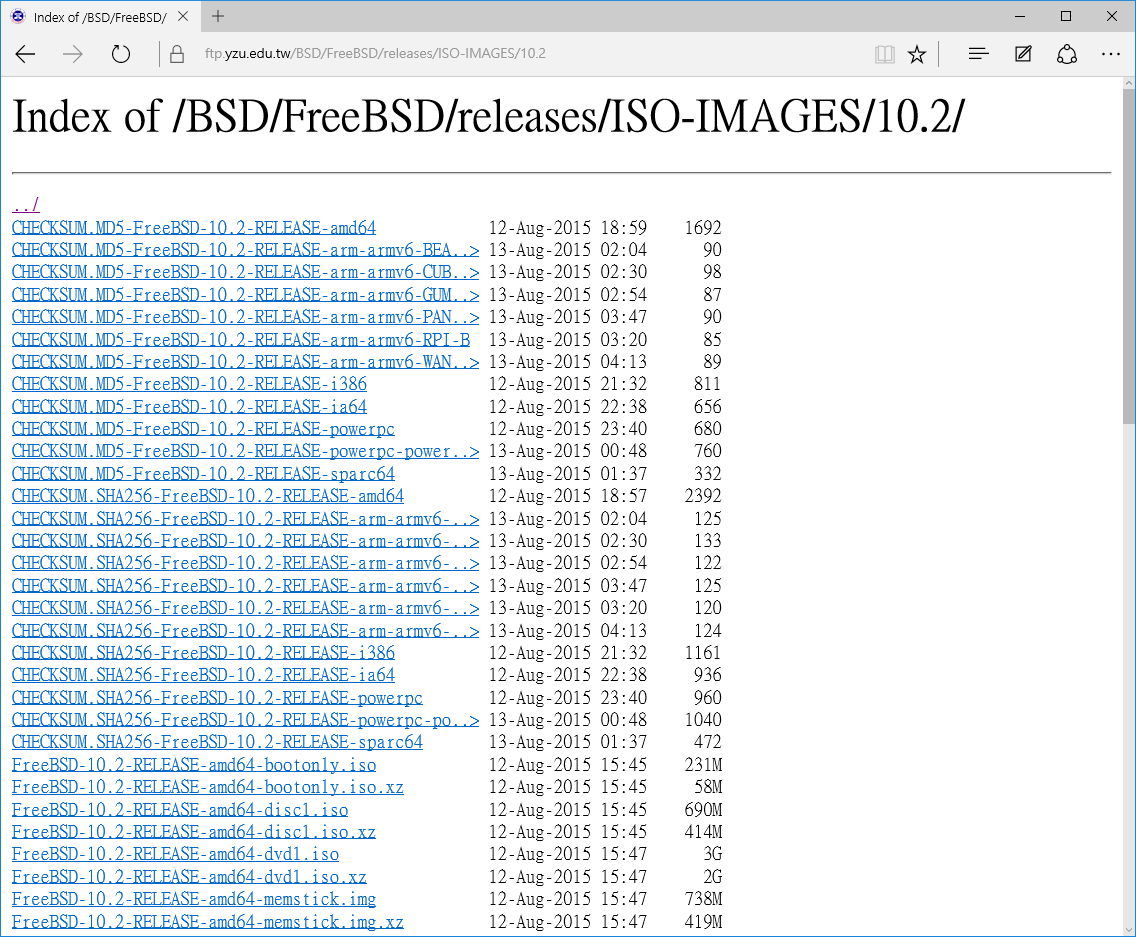
這邊檔案有很多

CHECKSUM 開頭的是雜湊值,用來確認檔案的正確跟完整性

FreeBSD-10.2-RELEASE 後面接的分別是支援的硬體架構以及說明

檔名最後的 iso, img, xz 分別表示光碟印像檔以及硬碟(隨身碟)的映像檔,以及對應壓縮過後的檔案,FreeBSD 的開機管理程式因為比較少軟體支援,直接把ISO光碟印像檔用常見的方式製作成USB開機隨身碟很可能會失敗,官方提供有製作好的 raw image 提供下載。

先簡單說明一下檔名的命名

.iso 結尾得檔名大概可以這樣判讀:

  • bootonly 是純開機片,安裝的時候要才上網下載需要的檔案,檔案會比較小
  • disc、dvd 表示光碟片則是包含了實際安裝需要用到檔案的光碟印像檔

img 的部分,mini-memstick 和 memstick 分別也是縮小版和正常版的 disk image,可以用 dd 或是 Win32 Disk Imager 來寫入 USB隨身碟當作開機裝置

另外如果檔名包含 uefi 則表示使用 uefi 模式開機 (相較於傳統BIOS),若不確定系統是否支援可以先不選用 uefi ,VirtualBox 預設沒有啟用 uefi ,所以這部分可以先選用沒有 uefi 的安裝檔。

FreeBSD_iso_image_download_2

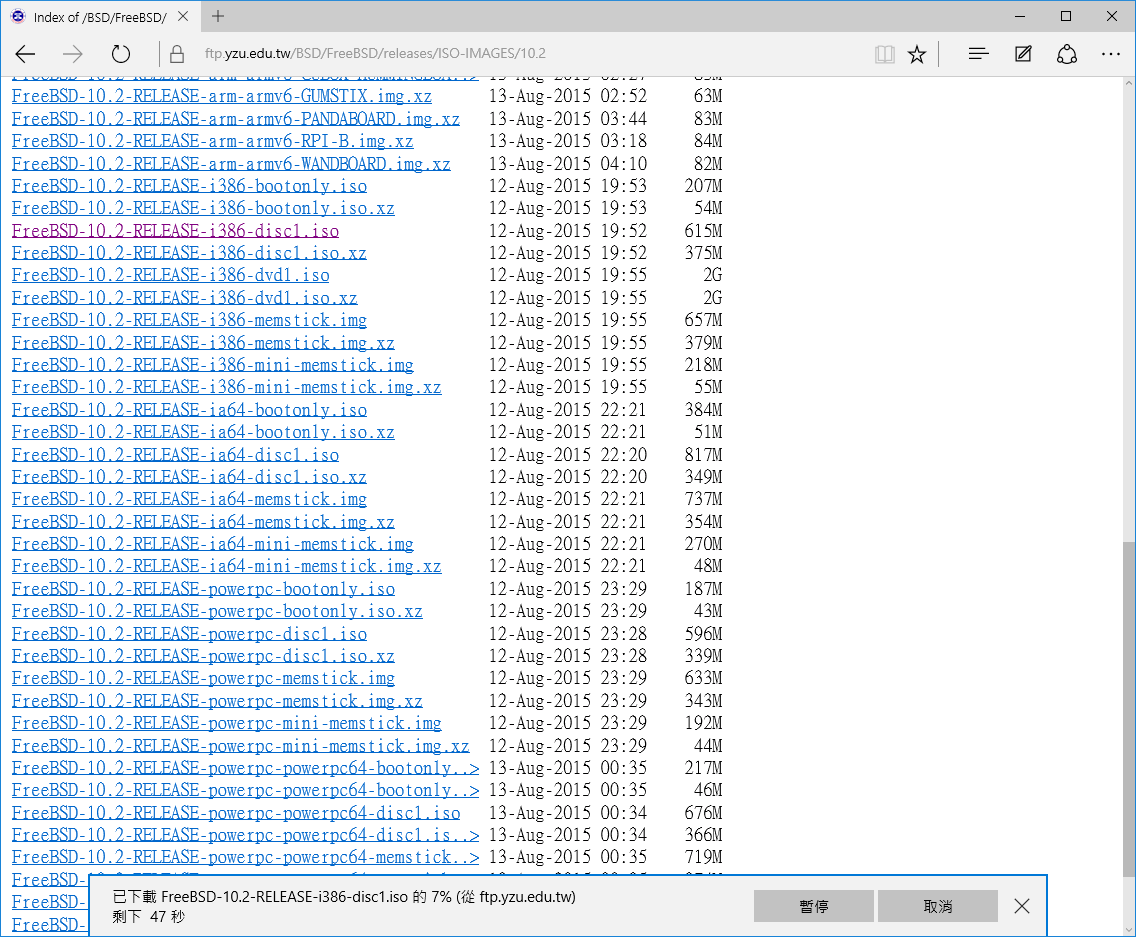
我這邊範例使用 i386 架構,32位元的版本的 ISO 檔案 (FreeBSD-10.2-RELEASE-i386-disc1.iso),系統/硬體支援的話也可以選用 amd64 的 64位元架構版本、如果有 7-zip 或 winrar 等解壓縮工具建議可以下載 .xz 結尾的壓縮檔,可以省下不少下載檔案的時間跟頻寬

FreeBSD_iso_image_download_4

閱讀全文