Raspberry Pi 2 model B basic benchmarks

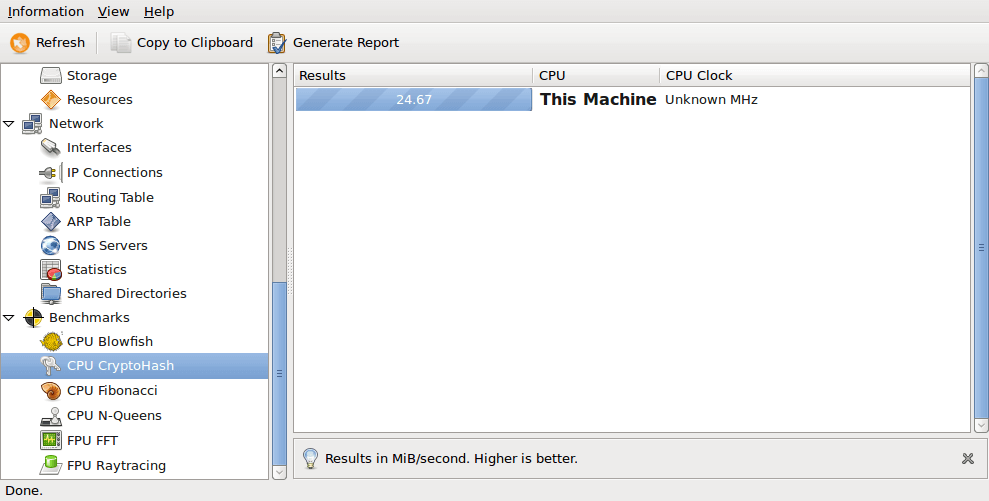
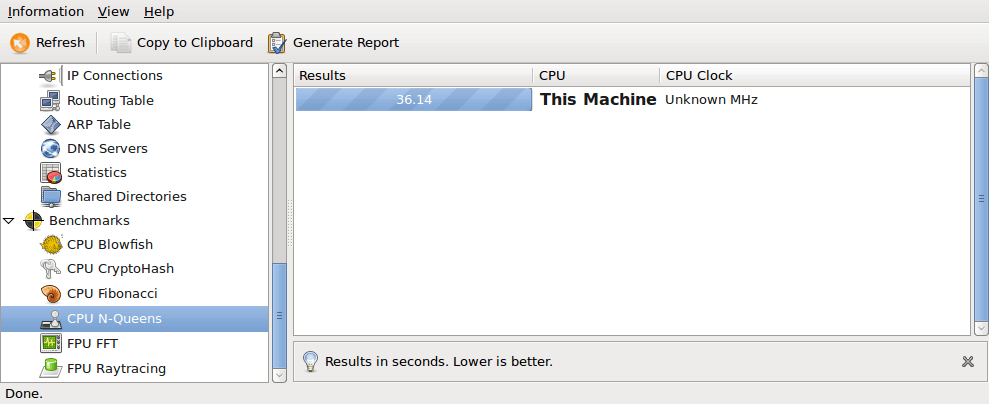
Just want to compare Raspberry Pi 2’s performance with Roseapple Pi’s, not only which one is faster, but also how faster, so I just did the same basic benchmarks on Raspberry Pi 2, and maybe will also do the same benchmarks (Hardinfo 、sysbench、PHP benchmark Script) on the 1st generation of Raspberry Pi.

Roseapple Pi benchmark:

https://www.peterdavehello.org/2016/02/roseapple-pi-%e8%93%ae%e9%9c%a7%e6%b4%be-%e6%95%88%e8%83%bd%e7%b0%a1%e6%b8%ac-benchmark/

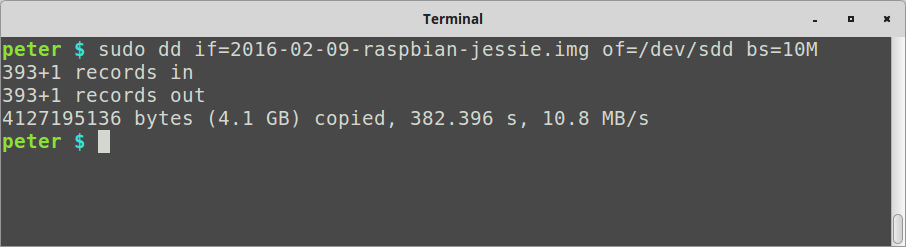
The platform is Raspberry Pi 2 model B using Raspbian Jessie, no Android this time.
Full desktop image based on Debian Jessie

Version: February 2016
Release date: 2016-02-09
Kernel version: 4.1


PHP benchmark Script using PHP 5.6.17:

--------------------------------------
| PHP BENCHMARK SCRIPT |
--------------------------------------
Start : 2016-02-23 22:47:00
Server : @
PHP version : 5.6.17-0+deb8u1
Platform : Linux
--------------------------------------
test_math : 15.713 sec.
test_stringmanipulation : 16.238 sec.
test_loops : 8.794 sec.
test_ifelse : 6.379 sec.
--------------------------------------
Total time: : 47.124 sec.

PHP benchmark Script using PHP 7.0.3 (Using Raspbian testing repository):

--------------------------------------
| PHP BENCHMARK SCRIPT |
--------------------------------------
Start : 2016-02-23 23:03:53
Server : @
PHP version : 7.0.3-3
Platform : Linux
--------------------------------------
test_math : 4.325 sec.
test_stringmanipulation : 6.012 sec.
test_loops : 4.241 sec.
test_ifelse : 2.784 sec.
--------------------------------------
Total time: : 17.362 sec.


sysbench v0.4.12 single thread:

$ sysbench --test=cpu --cpu-max-prime=20000 run
sysbench 0.4.12:  multi-threaded system evaluation benchmark

Running the test with following options:
Number of threads: 1

Doing CPU performance benchmark

Threads started!
Done.

Maximum prime number checked in CPU test: 20000


Test execution summary:
    total time:                          764.9781s
    total number of events:              10000
    total time taken by event execution: 764.9617
    per-request statistics:
         min:                                 76.40ms
         avg:                                 76.50ms
         max:                                 92.16ms
         approx.  95 percentile:              76.50ms

Threads fairness:
    events (avg/stddev):           10000.0000/0.00
    execution time (avg/stddev):   764.9617/0.00

閱讀全文

Do not like the silent dd on unix? Let’s add a progress bar for it. (Using pv)

Though dd is not efficient, it’s still widely used for many years until now, especially when we are “burning” the disk image of the famous Raspberry Pi or some related boards, the worst point I hate about dd is the silence, it makes me worried, we can not know the progress of the process, and if it takes too much time, we may start to think about if the computer hung, the SD card broken, or something else … until the process finished, that’s very bad.

I’ve found pv and also use it for a while, it’s the Pipe Viewer, a terminal-based tool for monitoring the progress of data through a pipeline, I know it’s not so famous and widely used, so I would like to share and talk about it, let’s start it!

pv is a OSI(Open Source Initiative, not the network Open Systems Interconnection model) certified open source software, here is the homepage of it: https://www.ivarch.com/programs/pv.shtml

pv-homepage.png

The latest release until now is v1.6.0, the version in Ubuntu 14.04 LTS is v1.2.0, but still works well, I am going to use Raspbian Jessie, version February 2016 (Release date:2016-02-09) as the example image in this post, and writing an raw image to a microSD card as the scenario.

Traditionally, we use dd like this, dd in, dd out, with silence:

$ sudo dd if=./2016-02-09-raspbian-jessie.img of=/dev/sdd bs=10M
dd_install_2016-02-09-raspbian-jessie.png
閱讀全文

Roseapple Pi 蓮霧派 效能簡測 (benchmark)

有關之前玩的蓮霧派(Roseapple Pi):

https://www.peterdavehello.org/2016/02/roseapple-pi-rapi-a-clone-of-raspberry-pi/

原先是想做一些仔細的效能測試,無奈最近實在太忙,身不由己,懶得詳測了 … 直接上圖吧,分別是在 Debian 底下用 Hardinfo 、sysbench、PHP benchmark Script 以及在 Android 底下用 QuadrantAntutu (安兔兔) 的效能”簡”測結果,比較詳細的測試,以後有緣再說囉。

系統環境的部份都和上一篇的開箱環境基本上都相同,也就是 Debian 8.1 和 Android 5.1.1,相關的映像檔資訊有需要請直接參考上面的連結。

先看在 Debian 8.1 Jessie 底下的測試結果:

Debian, Hardinfo, 直接看圖:

Debian, PHP benchmark Script using php 5.6.17:

--------------------------------------
| PHP BENCHMARK SCRIPT |
--------------------------------------
Start : 2016-02-22 13:51:08
Server : @
PHP version : 5.6.17-0+deb8u1
Platform : Linux
--------------------------------------
test_math : 8.409 sec.
test_stringmanipulation : 8.321 sec.
test_loops : 6.907 sec.
test_ifelse : 4.479 sec.
--------------------------------------
Total time: : 28.116 sec.

Debian, PHP benchmark Script using php 7.0.3 (Using Debian testing repository):

--------------------------------------
| PHP BENCHMARK SCRIPT |
--------------------------------------
Start : 2016-02-22 14:15:05
Server : @
PHP version : 7.0.3-3
Platform : Linux
--------------------------------------
test_math : 2.422 sec.
test_stringmanipulation : 3.245 sec.
test_loops : 3.002 sec.
test_ifelse : 1.955 sec.
--------------------------------------
Total time: : 10.624 sec.

上面兩個結果可以看出 PHP 7.0 的效能進步真的很大!有在寫 PHP 或 Web 相關應用的人可以當作參考。

Debian, sysbench --test=cpu --cpu-max-prime=20000 run (single-thread, 單核心):

閱讀全文

Use ‘jpegoptim’ to optimize/re-compress your jpg images

I use optipng and jpegoptim to help me compress/optimize my jpg/png images.

For png images re-compression, please refer to:

jpegoptim supports many platform, including Solaris, Mac OS X and Windows, of course FreeBSD and Linux, here is its git repository on GitHub:
https://github.com/tjko/jpegoptim

How to install?

FreeBSD:

$ sudo pkg install jpegoptim

For Debian/Ubuntu based GNU/Linux:

$ sudo apt-get install jpegoptim

For CentOS/RHEL/Fedora based GNU/Linux

$ sudo yum install jpegoptim

(on CentOS/RHEL, please enable EPEL repo first)

How to use?

$ jpegoptim image.jpg

By default, jpegoptim uses ‘lossless‘ mode to re-compress the jpeg images, which means the optimized images will have the same quality just like it was, to make the images smaller, you can use -m<quality>, --max=<quality> to enable lossy optimize by setting its quality, the valid range is 0 – 100, for example, set quality = 90:

$ jpegoptim -m 90 example.jpg

Note that the files that already have lower quality setting will be compressed using the lossless optimization method.

You can also use `find` to help you compress all the jpeg images:

$ find /path/to/imgs -name "*.jpg" -exec jpegoptim -m 90 {} \;

Using this picture on Wikipedia as an exmaple: https://wikipedia.org/wiki/File:JPEG_example_donkey_100.jpg

jpegoptim-example

Before the compression, 36239 bytes (about 36 KB):

JPEG_example_donkey_100


After the compression, 10145 bytes (about 10 KB):

JPEG_example_donkey_80

Can you recognize which one has better/lower quality? :D