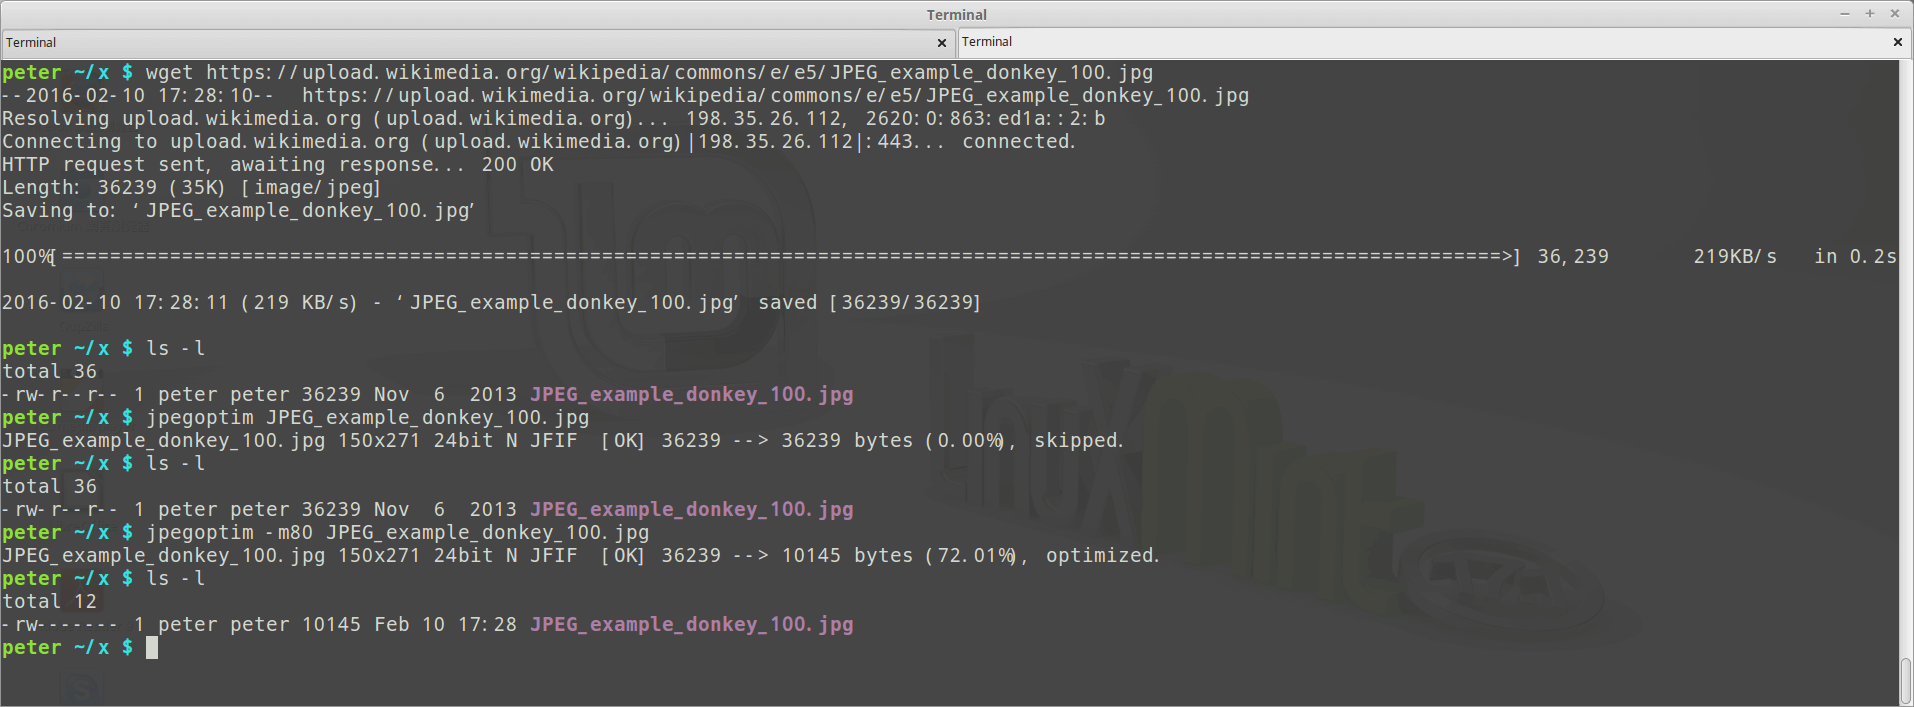
I use optipng and jpegoptim to help me compress/optimize my jpg/png images.
For png images re-compression, please refer to:
jpegoptim supports many platform, including Solaris, Mac OS X and Windows, of course FreeBSD and Linux, here is its git repository on GitHub:
https://github.com/tjko/jpegoptim
How to install?
FreeBSD:
$ sudo pkg install jpegoptimFor Debian/Ubuntu based GNU/Linux:
$ sudo apt-get install jpegoptimFor CentOS/RHEL/Fedora based GNU/Linux
$ sudo yum install jpegoptim(on CentOS/RHEL, please enable EPEL repo first)
How to use?
$ jpegoptim image.jpgBy default, jpegoptim uses ‘lossless‘ mode to re-compress the jpeg images, which means the optimized images will have the same quality just like it was, to make the images smaller, you can use -m<quality>, --max=<quality> to enable lossy optimize by setting its quality, the valid range is 0 – 100, for example, set quality = 90:
$ jpegoptim -m 90 example.jpgNote that the files that already have lower quality setting will be compressed using the lossless optimization method.
You can also use `find` to help you compress all the jpeg images:
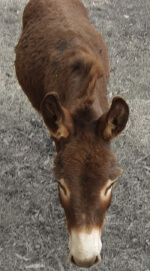
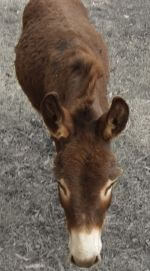
$ find /path/to/imgs -name "*.jpg" -exec jpegoptim -m 90 {} \;Using this picture on Wikipedia as an exmaple: https://wikipedia.org/wiki/File:JPEG_example_donkey_100.jpg

Before the compression, 36239 bytes (about 36 KB):

After the compression, 10145 bytes (about 10 KB):

Can you recognize which one has better/lower quality? :D
