Environment: Ubuntu server 14.04.2 LTS x86_64 with Xeon E3-1230 V2 and 8G ram
Reference: Chromium OS Quick Start Guide
Step by step:
Install the necessary packages:
[bash]$ sudo aptitude install git-core gitk git-gui subversion curl[/bash]
Install depot_tools:
[bash]$ git clone https://chromium.googlesource.com/chromium/tools/depot_tools.git –depth 1[/bash]
Add depot_tools to your PATH:
[bash]$ export PATH=`pwd`/depot_tools:"$PATH"[/bash]
Tweak sudoers config:
[bash]
cd /tmp
cat > ./sudo_editor <<EOF
#!/bin/sh
echo Defaults \!tty_tickets > \$1 # Entering your password in one shell affects all shells
echo Defaults timestamp_timeout=180 >> \$1 # Time between re-requesting your password, in minutes
EOF
chmod +x ./sudo_editor
sudo EDITOR=./sudo_editor visudo -f /etc/sudoers.d/relax_requirements
[/bash]
Create directory for chromiumos:
[bash]$ mkdir -p ${HOME}/chromiumos[/bash]
Get the source code:
[bash]$ cd ${HOME}/chromiumos
$ repo init -u https://chromium.googlesource.com/chromiumos/manifest.git –repo-url https://chromium.googlesource.com/external/repo.git
$ repo sync[/bash]
Create(and enter) a chroot(still in the directory for chromiumos):
[bash]$ cros_sdk[/bash]
Choose a board you want to build for, from ~/trunk/src/overlays, and export it to environment:
[bash]chroot$ export BOARD=amd64-generic[/bash] (I selected amd64 arch)
Setup board:
[bash]chroot$ ~/trunk/src/scripts/setup_board –board=${BOARD}[/bash]
Setup password:
[bash]chroot$ ~/trunk/src/scripts/set_shared_user_password.sh[/bash]
(if you want to config kernel, you can try to configure it now, via ~/trunk/src/third_party/kernel/v3.4/chromeos/scripts/kernelconfig, place v3.4 with your kernel version here)
Build packages:
[bash]chroot$ ~/trunk/src/scripts/build_packages –board=${BOARD}[/bash]
Build image(we are almost there):
[bash]chroot$ ~/trunk/src/scripts/build_image –board=${BOARD} –noenable_rootfs_verification dev[/bash]
Copy image to a usb drive:
[bash]chroot$ cros flash –board=${BOARD} usb://[/bash]
or copy to file:
[bash]chroot$ cros flash –board=${BOARD} file://./[/bash]
or create a imgage for virtual machine
(default for kvm, for other vm you can pass parameters –format=vmware or –format=virtualbox):
[bash]chroot$ ~/trunk/src/scripts/image_to_vm.sh –board=${BOARD}[/bash]
(image will be here : ~/trunk/src/build/images/${BOARD}/latest/)
If you copy image to a file, you can use dd to write to a usb disk like this:
[bash]$ sudo dd if=./chromiumos_image.bin of=/dev/sde bs=4M[/bash]
And then you can boot a computer via this usb disk now.
If you got kernel panic, you may need to press Esc and try this command to boot
[bash]chromeos-usb.A boot=/dev/sdX3[/bash], X may be a~e
If you want to install Chromium OS to your hard disk, try this command when your usb disk boot up:
[bash]$ sudo /usr/sbin/chromeos-install[/bash], PS, it’ll wipe your disk!!!
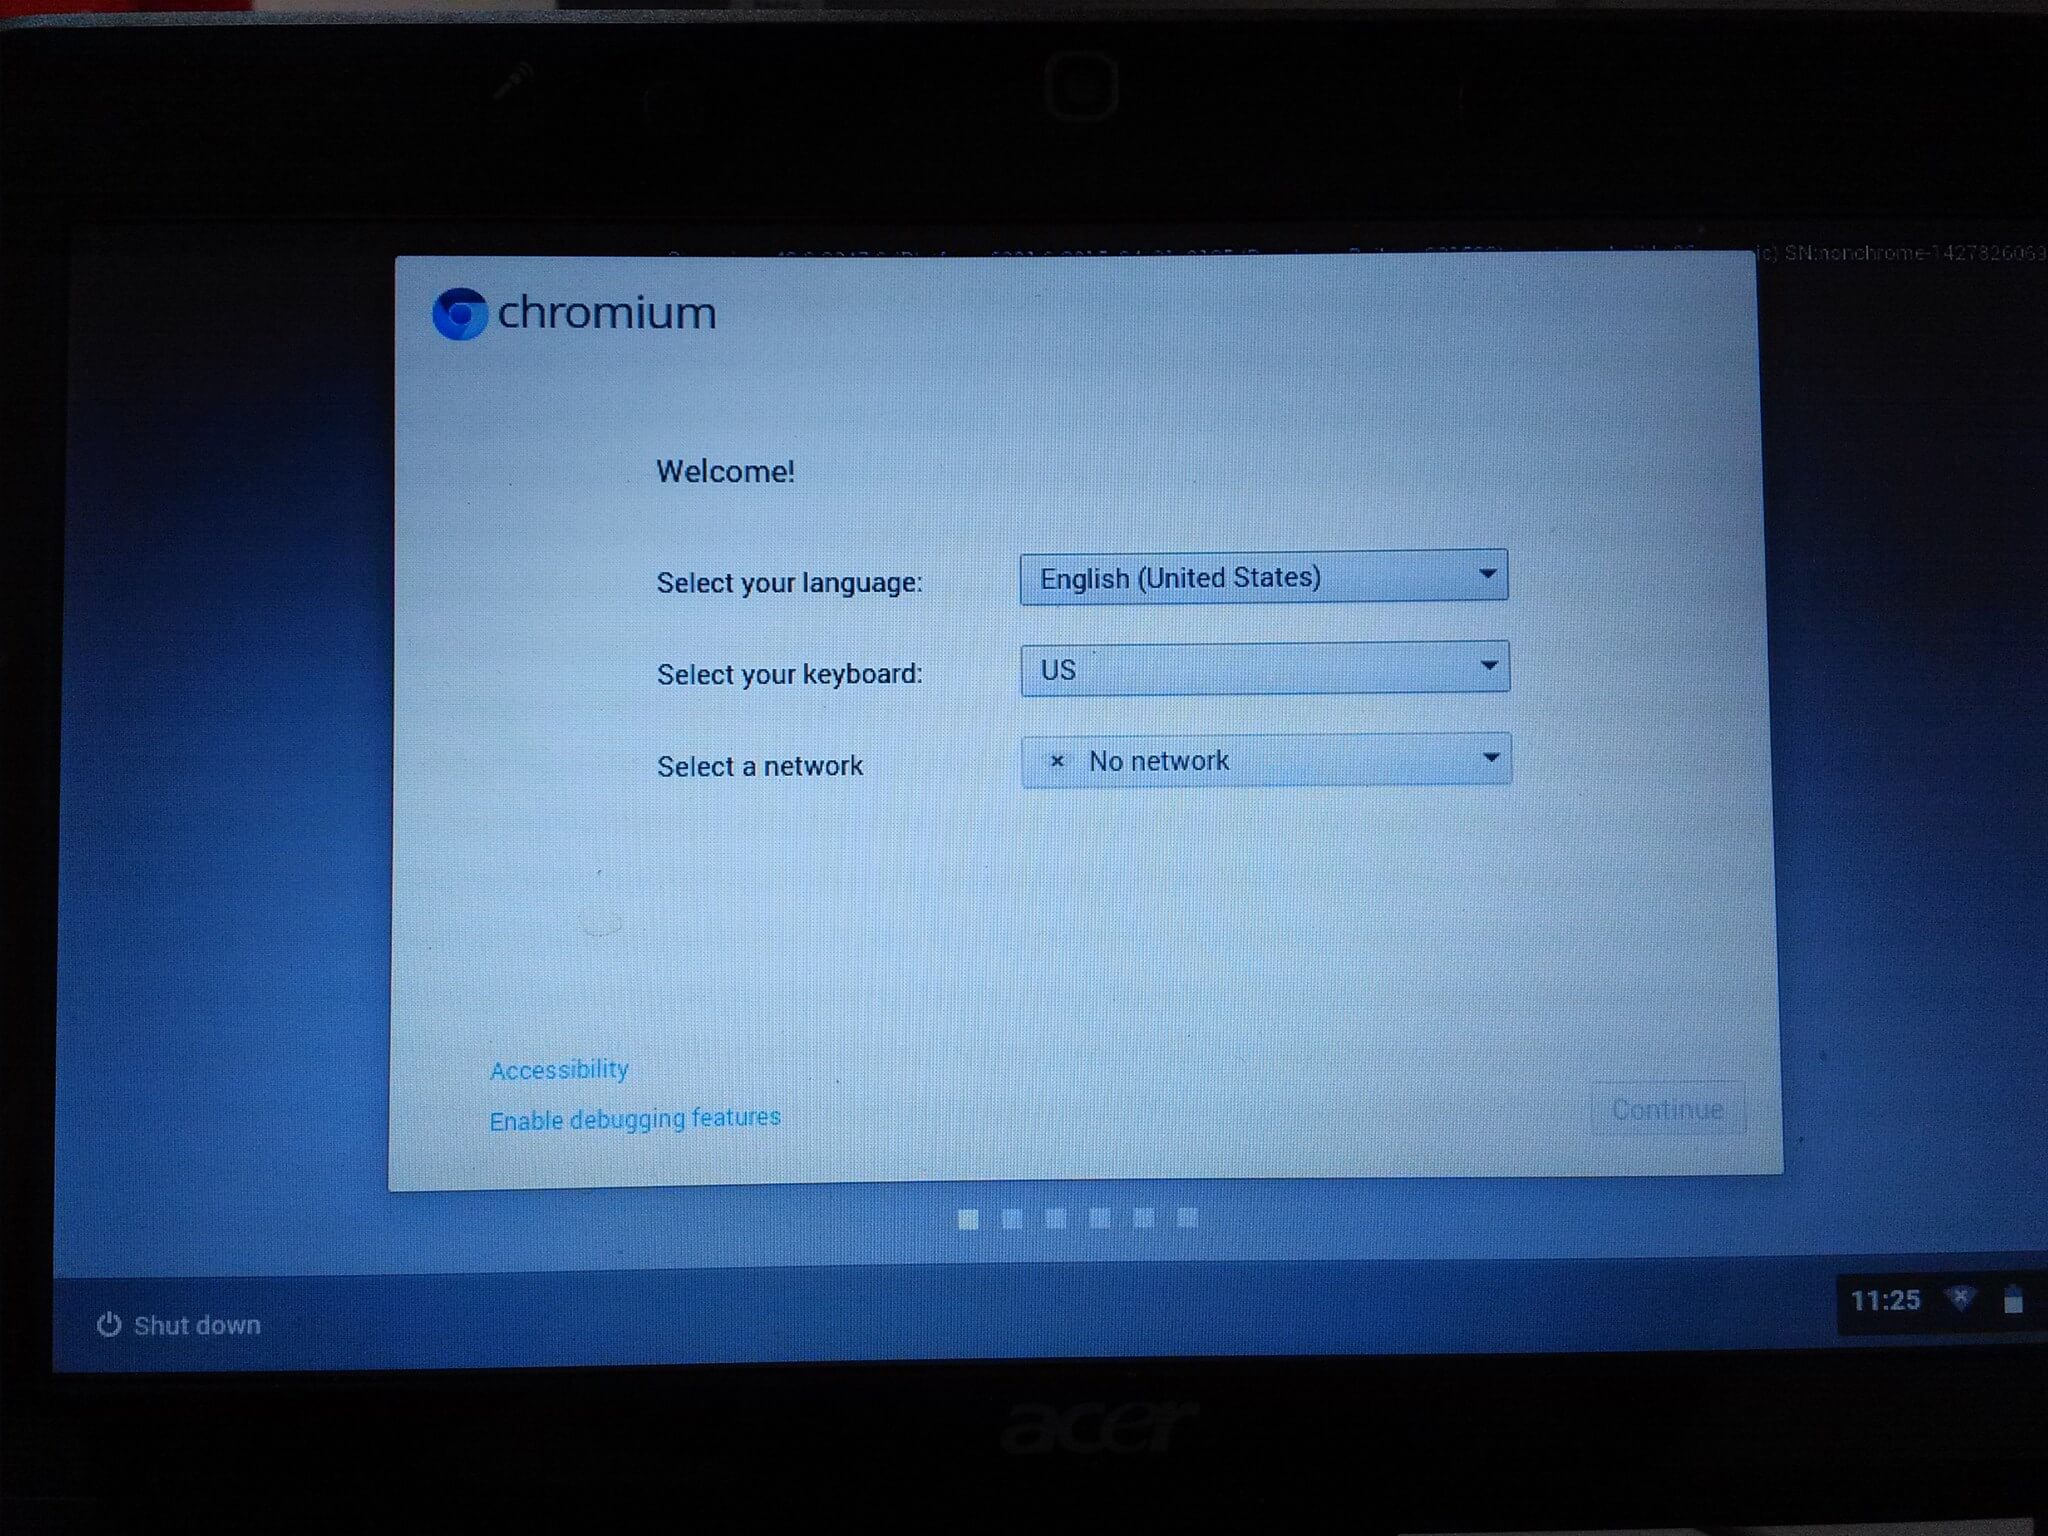
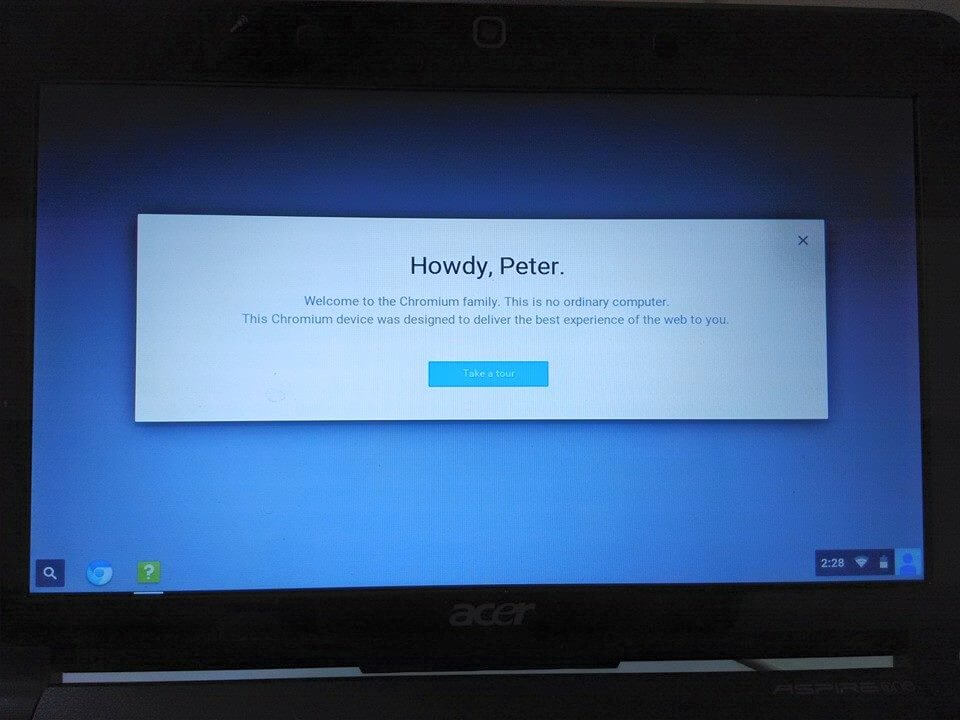
Don’t know what’s the reason why it’ll keep getting deadly segment fault and hang, but it works on my acer Aspire one D150, a super old notebook, the performance is not so good, and I don’t know how to remap the keyboard on it(there are 3 broken keys orz …), so I just quit, ha!
Only 2 screenshots this time … took by my low-end phone.
